
Store-bought cat treats can be convenient, but many contain artificial additives, preservatives, and unnecessary fillers. Making homemade cat treats ensures your feline friend gets healthy, natural, and delicious snacks made with high-quality ingredients.
Why Make Homemade Cat Treats?
Homemade treats allow you to control the ingredients, ensuring your cat gets only the best. They are often healthier, free of harmful additives, and can be customized for cats with dietary restrictions. Additionally, making treats at home can be more affordable than purchasing premium store-bought options.
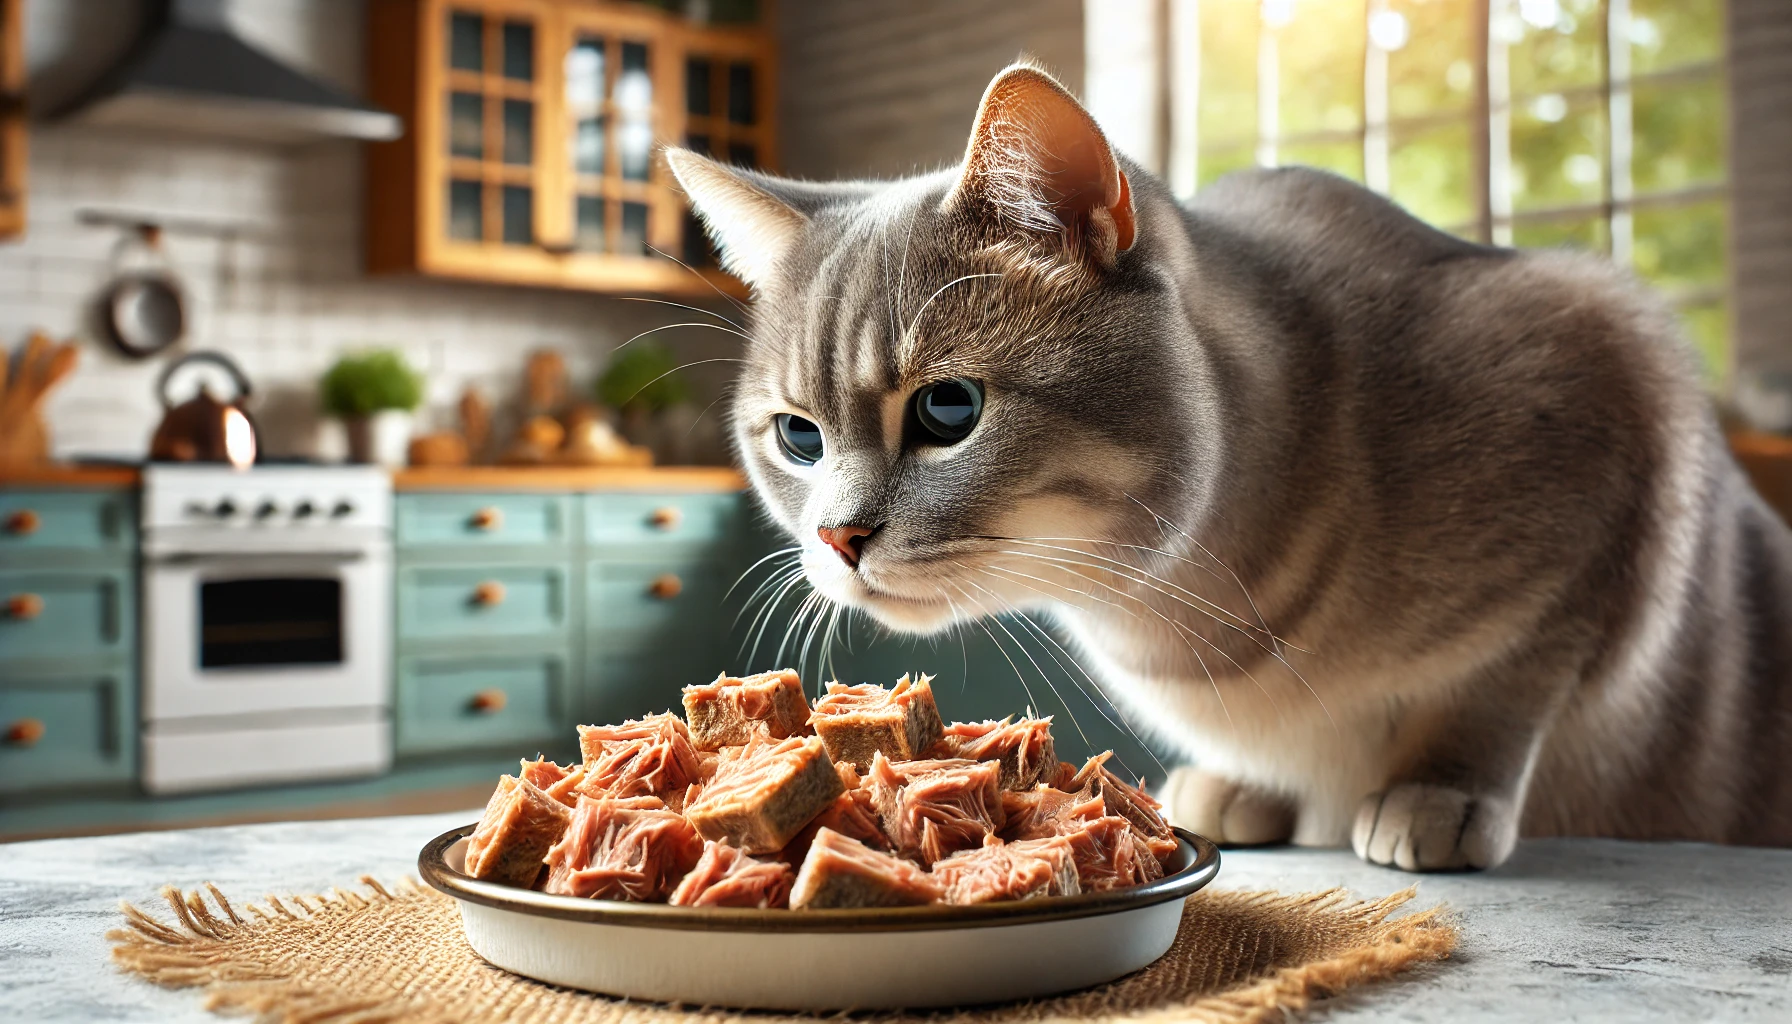
Crunchy Tuna Treats
Ingredients: 1 can of tuna in water (drained), 1 egg, 1 cup whole wheat flour (or oat flour for grain-free), 1 tablespoon dried catnip (optional), and 1 tablespoon water.
Instructions: Preheat the oven to 180°C (350°F). Blend the tuna, egg, and water in a food processor until smooth. Add the flour and catnip, mixing until a dough forms. Roll out the dough and cut it into small pieces. Place them on a lined baking sheet and bake for 12–15 minutes or until crunchy. Let cool completely before serving. Store in an airtight container for up to one week in the fridge.
Salmon & Sweet Potato Bites
Ingredients: ½ cup cooked boneless, skinless salmon, ½ cup mashed sweet potato, 1 egg, and ½ cup oat flour.
Instructions: Preheat oven to 180°C (350°F). Mash the salmon and mix it with sweet potato and egg. Add the flour and stir until you get a firm dough. Form small bite-sized balls and flatten them slightly. Bake for 10–12 minutes until firm and golden brown. Cool before serving. Keep in the fridge for up to five days or freeze for up to three months.
Chicken & Catnip Biscuits
Ingredients: ½ cup cooked shredded chicken breast, 1 tablespoon dried catnip, 1 egg, 1 tablespoon low-sodium chicken broth, and ½ cup oat flour.
Instructions: Preheat oven to 180°C (350°F). Blend all ingredients until a dough forms. Roll out and cut into small pieces. Bake for 15 minutes until crispy. Let cool completely before serving. Store in an airtight container for up to one week.
No-Bake Tuna & Pumpkin Treats
Ingredients: ½ cup canned tuna (drained), ¼ cup canned pumpkin (pure, no spices), and ½ cup oat flour.
Instructions: Mash all ingredients together in a bowl. Roll into small balls and flatten slightly. Refrigerate for one hour to firm up before serving. Store in the fridge for up to five days.
Tips for Making Safe Cat Treats
Avoid onions, garlic, and salt, as these are toxic to cats. Always use high-quality proteins like fresh, unprocessed meats and fish. Treat portions should be no more than 10% of their daily calorie intake. Introduce new foods slowly and watch for any signs of allergies or digestive issues.
Common Mistakes and How to Avoid Them
One common mistake is using harmful ingredients such as dairy, onions, or artificial sweeteners. Always stick to cat-friendly ingredients. Overfeeding treats can lead to obesity, so limit treats to a small portion of their daily diet. Not storing treats properly can lead to spoilage; always refrigerate or freeze homemade treats as needed.
When to Seek Professional Advice
If your cat has dietary restrictions or health conditions, consult a veterinarian to ensure the treats fit their nutritional needs. A feline nutritionist can also help create balanced homemade recipes tailored to your cat’s specific requirements.
Conclusion
Making homemade cat treats is a fun and rewarding way to provide your cat with healthy, natural snacks. By using safe ingredients and following simple recipes, you can create delicious treats that support their health and happiness. With the right balance, your cat can enjoy tasty, homemade snacks without compromising their diet!